
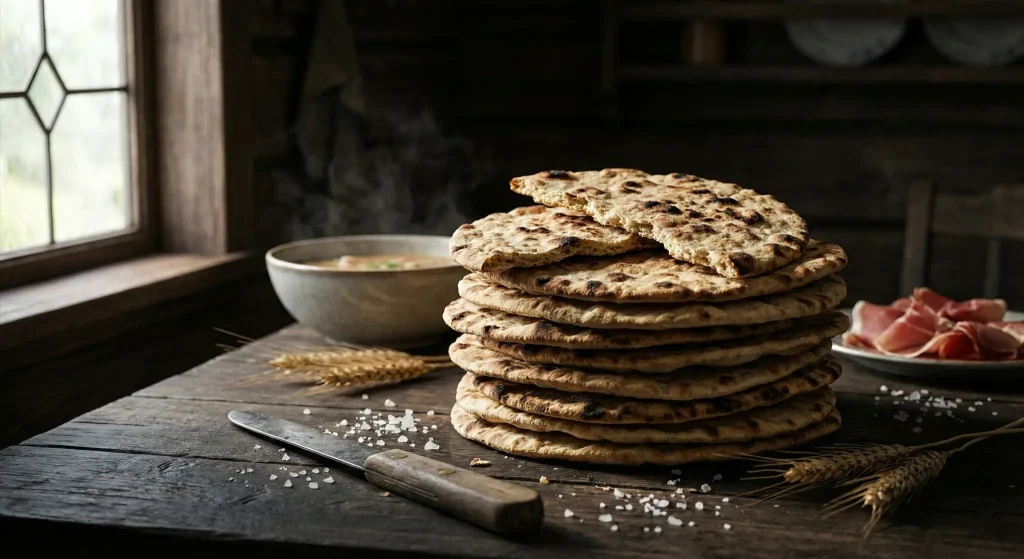
Picture a cold winter evening in rural Norway: a warm kitchen filled with the toasty aroma of bread on a griddle, and a towering stack of paper-thin flatbrød leaning against the wall. Flatbrød (literally “flat bread” in Norwegian) is a traditional unleavened crispbread that has been a beloved staple in Norway for centuries. These whisper-thin, crunchy rounds of bread were once baked in big batches and stored for long winter months – some families would bake enough to stack several feet high on the farm! Flatbrød’s enduring appeal lies in its simplicity and versatility. With just a few humble ingredients and a bit of Scandinavian know-how, you can bring this cozy Norwegian tradition into your own kitchen.
A Culinary Legacy: From Viking Longships to Modern Tables
Flatbrød is more than just a recipe – it’s a slice of Norwegian history. In fact, historians trace these crisp flatbreads all the way back to Viking times. Viking-era flatbrød was typically made from whatever grains were on hand – often barley or oats – mixed into a simple dough and cooked on a flat stone or griddle over the fire. The result was a hard, thin bread that cooked quickly and could last for months when dried, perfect for seafaring warriors and winter sustenance. High in fiber and easy to transport, flatbrød was truly the Viking “daily bread”.
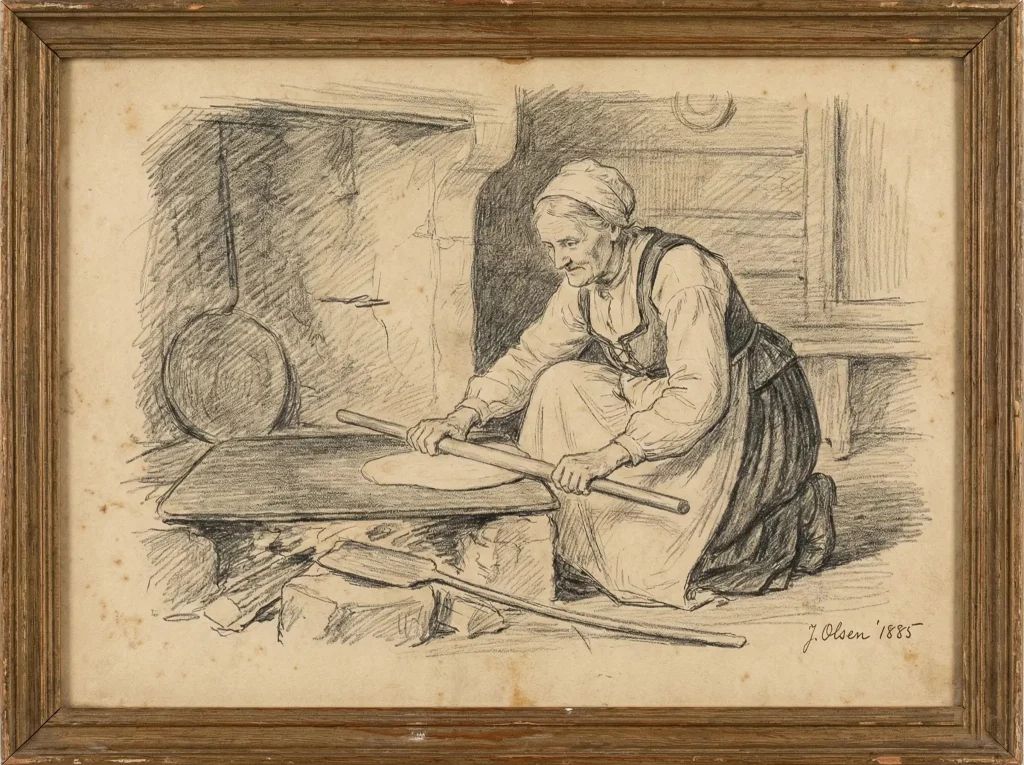
The “Bakstekjerring” Tradition: Honoring the Baking Women of Norway
Through the medieval and early modern eras, flatbrød remained a cornerstone of Norwegian farm life. Women known as bakstekjerring (“baking wives”) would gather to roll and bake flatbrød, passing down their techniques through generations. It was traditionally made at home on a large flat iron griddle called a takke, often in marathon baking sessions to produce enough flatbrød to fill the pantry. Anecdotes from the 1800s describe flatbrød being baked just once or twice a year – in spring or fall – and then stored dry in wooden containers or hung under the rafters. One 1839 travel journal noted seeing flatbrød “as thin as a wafer, perhaps 20 inches across, piled 4–5 feet high in rustic columns” to last the year. Because flatbrød is completely dried and contains no fat or yeast, it can stay fresh for a very long time if kept dry – historically, months or even years in storage was not uncommon.
By the 20th century, commercial production of flatbrød took off in Norway. Brands like Røros or Mors Flatbrød became pantry staples, and home-baking declined as busy modern families opted for store-bought flatbrød. Today you can find packaged flatbrød in Norwegian supermarkets, often in perfectly uniform rounds. But despite its commercial availability, the tradition of making flatbrød at home is far from dead – if anything, it’s enjoying a nostalgic revival. After all, nothing beats the homemade touch (and bragging rights) of rolling out your own batch of these crispy delicacies. Plus, outside Norway, it can be hard to find authentic flatbrød, so making it yourself is the best way to enjoy a taste of Nordic heritage.
What Exactly Is Flatbrød?
Think of flatbrød as Norway’s answer to a cracker or crispbread – ultra-thin, dry, and crispy. Traditional flatbrød dough uses no yeast or leavening, so it doesn’t puff up; it’s rolled out as thin as possible (truly paper-thin) before cooking, which is what gives flatbrød its signature shattering crunch. In texture and use, it’s closer to a large cracker or Matzoh than a soft flatbread.
Flatbrød dough is remarkably simple: usually a combination of flour, salt, and water – that’s it. Barley flour was the old-school favorite base (barley grew well in Norway’s chilly climate), often mixed with a bit of rye or coarse whole wheat if available. Wheat flour, when it could be afforded, added gluten to help bind the dough. Over the years, creative bakers have incorporated other ingredients too: potatoes became popular to mash into the dough after they arrived in Norway (potato flatbrød adds a lovely earthy flavor), and even pea flour was sometimes used in regions where dried peas were on hand. Essentially, flatbrød was a resourceful bread – people used whatever grain or starch they had to stretch the flour supply. The result is that no two families’ flatbrød recipes were exactly alike, yet they all produced a similarly thin, crisp bread that kept everyone fed.
Modern recipes for flatbrød remain true to this spirit of flexibility. You can use whole grain flours like barley, rye, or whole wheat for a nutty, rustic flavor, balanced with some all-purpose (white) flour for better dough structure. Some traditional recipes use a bit of cultured milk (such as buttermilk) instead of water, which gives a subtle tang and tenderness. Others might add a spoonful of butter or lard for richness, or a pinch of sugar for a hint of sweetness (the store-bought Røros flatbrød even contains a little sugar in the ingredients). However, classic flatbrød contains no fat or sugar, keeping it plain and neutral in taste. Don’t expect a bold, yeasty bread flavor here – flatbrød is adored for its simplicity: a light toasty grain taste that lets the toppings or main dish shine.
Rolling and Cooking Flatbrød – The Art of Thin
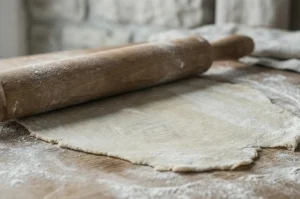
Making flatbrød is almost as easy as mixing up the dough and rolling it out – with an emphasis on rolling! In Norway, mastering the ultra-thin roll-out is a point of pride. The saying goes that a good flatbrød should be so thin you could almost read a newspaper through it. Experienced bakers use a special ridged rolling pin called a rutekjevle to get it evenly thin, and they’ll roll in all directions to form large rounds. But don’t worry – you don’t need any special equipment to make great flatbrød at home. A regular rolling pin (and a little patience) will do the job, and if you really want to cheat, a pasta roller can help crank out uniformly thin sheets.
Thickness matters: too thick and your flatbrød will be hard and dense rather than delicately crisp; too thin and it becomes fragile. Aim for about the thickness of a coin – roughly 1–2 mm (about 1/16th of an inch). It may feel almost impossibly thin as you roll it out. Pro tip: roll once, rest, roll again. Letting the dough rest for a few minutes after an initial rolling gives the gluten time to relax, making it easier to stretch even thinner without springing back. Also, keep everything well-floured with barley flour or rye flour as you roll; this prevents sticking and actually helps achieve that last bit of thinness (barley flour was traditionally used to dust the work surface because it has little gluten and won’t toughen the dough).
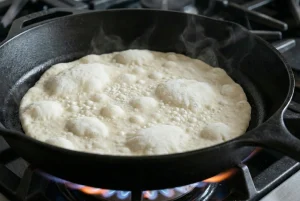
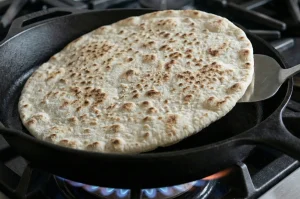
Traditionally, flatbrød is cooked on a large cast-iron griddle over a fire or stovetop. At home, you can use a dry skillet or griddle pan on the stove – cast iron works great, but any heavy pan will do. Cook each flatbrød on medium-high heat until brown spots appear, then flip and cook the other side. It only takes a minute or two per side since the bread is so thin. You’re not exactly “baking” it as much as quickly toasting it. No oil is needed in the pan – flatbrød is cooked dry, which is why it crisps up nicely and can be stored without refrigeration.
As each flatbrød finishes cooking, it will still feel a tad flexible. Don’t worry – it crisps as it cools. Place the cooked flatbreads on a wire rack or lean them upright so air circulates. In literally a minute or two, they’ll turn crackly crisp. One satisfying reward of making flatbrød is the sound: that quiet crackle as the soft warm round firms up into a brittle disk. (It’s okay if you can’t resist snapping off a little piece while it’s cooling – quality control!) Once cooled and crisp, flatbrød should be completely dry and snap when bent.
Because it contains no preservatives, homemade flatbrød should be stored airtight to keep moisture out. After all your hard work rolling them thin, you wouldn’t want them turning soft. Cool them fully and then pop them in a tin, a zip-top bag, or a sealed container. Kept dry, they’ll stay delicious for weeks – even months. (Historically, flatbrød was known to last almost indefinitely when stored properly, though modern versions with a bit of fat might not keep quite as long.) But chances are, you’ll munch them up well before staleness ever sets in!
Serving Norwegian Flatbrød
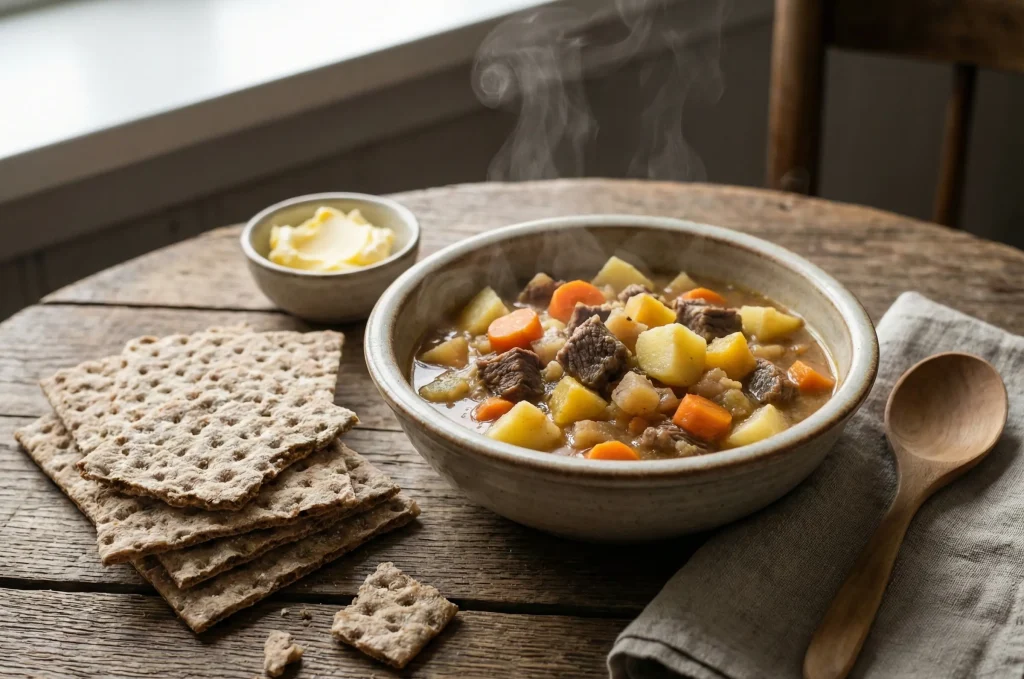
One of the joys of flatbrød is that it’s never eaten alone – it’s always an accompaniment or a base for something else. In Norway, flatbrød traditionally appears alongside hearty meals, adding a pleasant crunch on the side. Perhaps the most classic pairing is soup and flatbrød. If you’re making a cozy split-pea soup on a cold day, try serving flatbrød with it for an authentic Nordic combo.
Flatbrød is also the trusty sidekick to stews and meat dishes. Lapskaus, a Norwegian beef and vegetable stew, just isn’t complete without some flatbrød to soak up the savory broth. In fact, many Norwegians will crumble flatbrød into their stew or alternate bites of stew and crispy bread for textural delight.
Flatbrød’s neutral flavor and crunch make it ideal with rich, warming dishes. Historically, it was eaten with everything from porridge to salted fish. A common old-time meal was flatbrød with cured herring and boiled potatoes, often with a dollop of sour cream or butter on top. Imagine the contrast of silky herring, soft potato, cool sour cream, and a shattering bite of flatbrød – it was a poor man’s fare that ate like a feast.
These days, flatbrød can also be dressed up into elegant appetizers. Its crispness makes it a lovely base for cheese and spreads. You can break the flatbrød into cracker-sized pieces and serve with a cheese board.
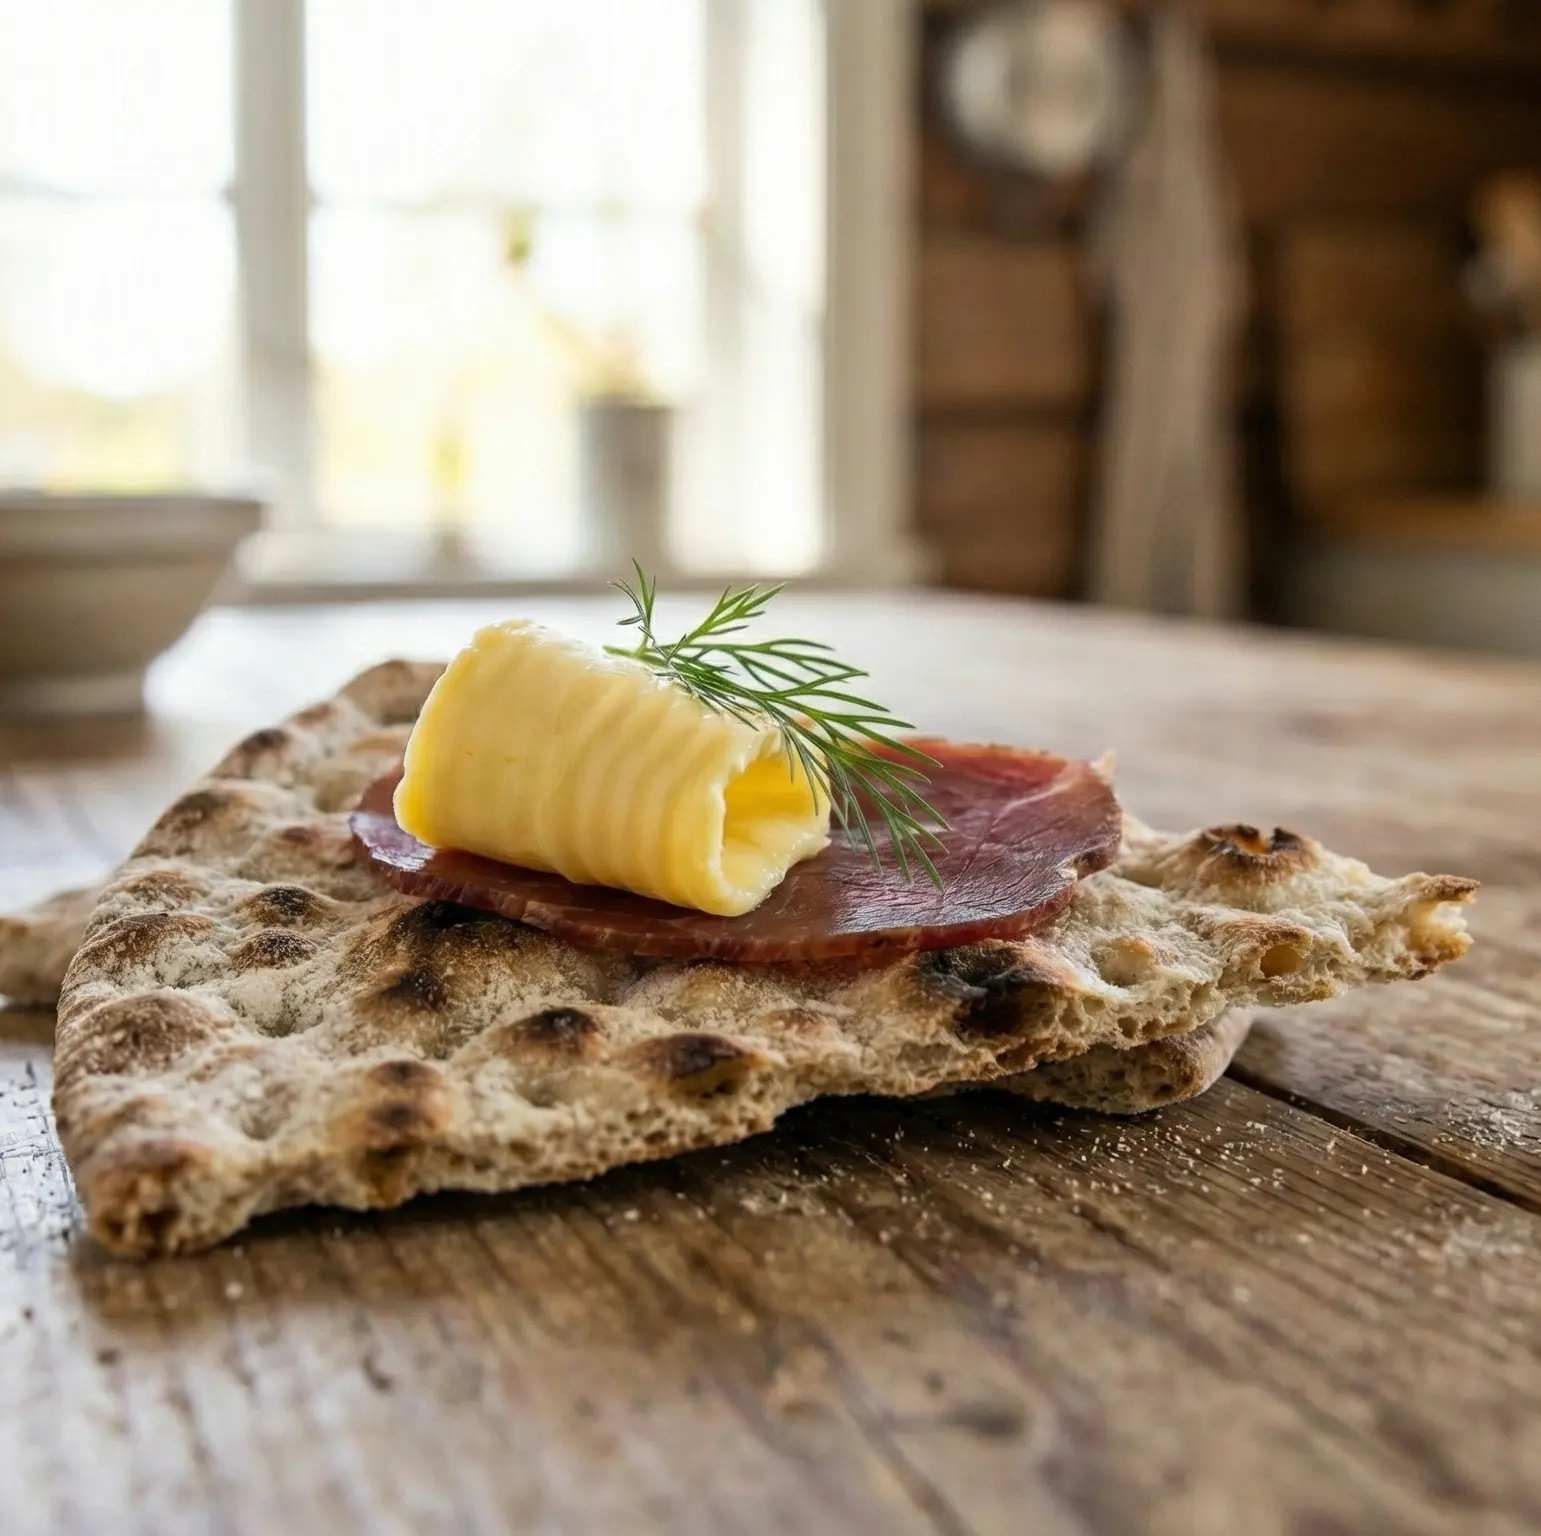
For a Scandinavian twist, top pieces of flatbrød with a smear of butter or cream cheese, a slice of gravlax or smoked salmon, and a sprig of dill. Or try the Norwegian classic: a thin slice of brown cheese (Brunost) and a dab of tart berry jam on flatbrød – an addictive sweet-salty treat. Even just butter and jam on flatbrød can be heavenly (think of it like a crisp toast). Some even enjoy it as a dessert cracker with butter, sugar, and cinnamon. And if we’re catering to kids, yes, you could spread some peanut butter and jelly on it – flatbrød is surprisingly tasty that way too! The possibilities are endless, since flatbrød is basically the crunchy canvas for whatever flavors you fancy.
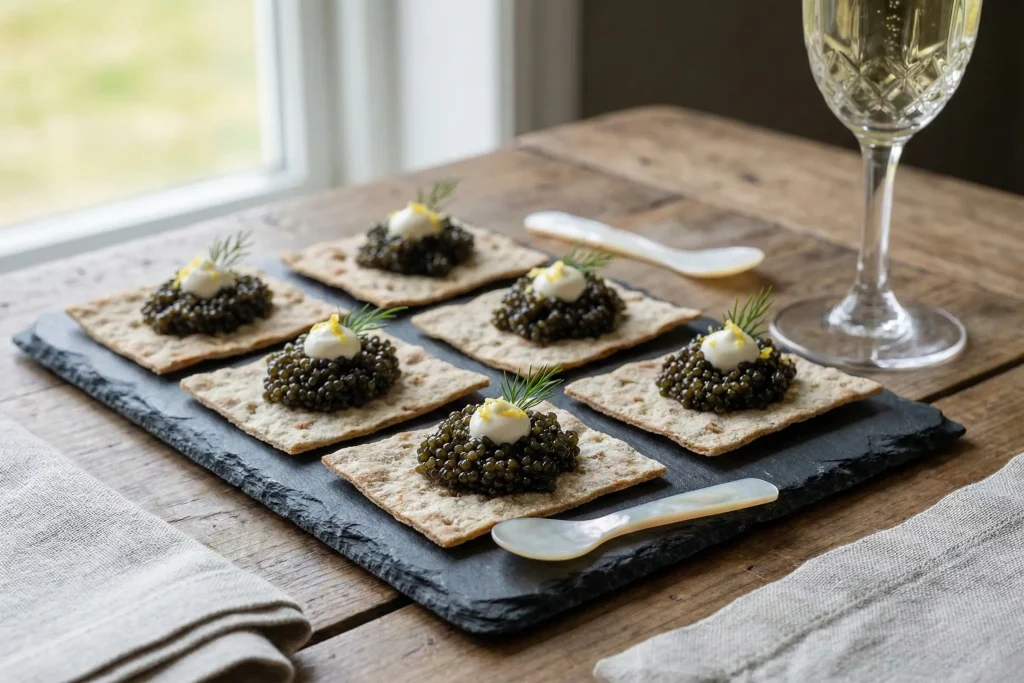
Feeling fancy? Flatbrød has made its way into Norway’s restaurant scene as well – you might find it in an upscale Oslo restaurant, topped with caviar and a dot of crème fraîche, served as a canapé. It’s a beautiful example of old meets new. But whether you’re eating flatbrød in a fine restaurant or beside a campfire in the mountains, the experience is comforting and satisfying all the same.
And speaking of comfort, bread is at the heart of so much comfort food in the Nordics. Flatbrød is just one beloved type – the Nordic countries are also famous for their hearty rye breads. (If you’re a bread enthusiast, you’ll enjoy exploring the “Rye Belt” of Northern Europe – check out The Rye Belt: A Cozy Tour of Nordic Rye Bread to dive into the rich world of Nordic rye breads and why they taste like home!). Flatbrød and rye bread may be very different in texture – one is whisper-thin and crisp, the other dense and chewy – but they both speak to the Scandinavian love of grain and hearth.
Now that we’ve talked all about it, it’s time to roll up our sleeves and make some flatbrød! Below is a traditional Norwegian flatbrød recipe adapted for a home kitchen. It uses a blend of whole grain flour and white flour for an authentic yet pliable dough, and we’ve provided dual measurements (cups and grams) to make it easy to follow. This recipe will yield a batch of crisp, rustic flatbreads ready to be paired with your favorite soup or stew – or simply munched on as a Nordic snack.
Norwegian Flatbrød (Flatbread) Recipe
Ingredients
Method
- Gather the ingredients you will need.

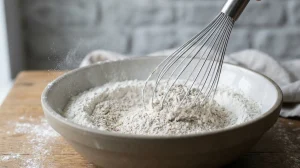
- In a large bowl, whisk together the whole grain flour, all-purpose flour, and salt until well combined. If you prefer a hint of sweetness or are aiming for a store-bought style, you could add a teaspoon of sugar here (optional).
- Make a well in the flour mixture and pour in the warm water (or milk/buttermilk).
- If using mashed potato and/or melted butter, add them in as well.
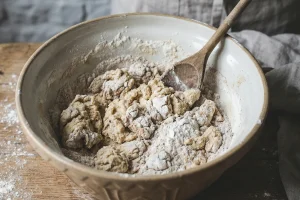
- Stir with a wooden spoon or spatula until a shaggy dough forms.
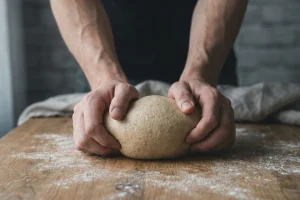
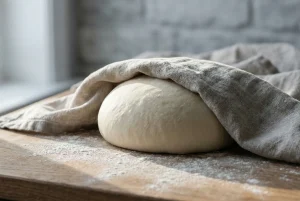
- Then use your hands to knead the dough in the bowl or on a lightly floured surface. Knead for about 3–5 minutes until it comes together into a smooth, firm dough.
- The dough should feel similar to a firm pie crust or pasta dough – not sticky. If it’s too sticky, add a bit more flour; if it’s too dry or cracking, sprinkle a little more water. Form the dough into a ball.
- Cover the dough ball with a damp kitchen towel or plastic wrap and let it rest at room temperature for about 30 minutes. This rest allows the flour to hydrate and the gluten to relax, which will make rolling easier.
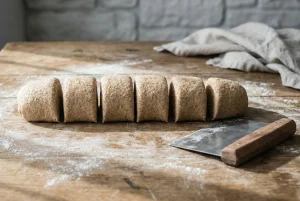
- Divide the rested dough into smaller portions for rolling. For 6 large flatbrød, divide into 6 equal pieces (roll the dough into a log and cut into 6 segments).
- For smaller flatbreads, divide into 8–10 pieces. Roll each piece into a ball, dusting with a bit of flour if needed.
- Keep the dough balls covered with a cloth so they don’t dry out as you work.
- Heat a large, flat skillet or griddle over medium-high heat. No oil or butter is needed in the pan – you’ll cook the flatbrød dry.
- A hot, evenly-heated surface is key for quick cooking, so give the pan a good few minutes to preheat. (If using an electric griddle or flat cooktop, aim for about 375°F/190°C.)
- Working one ball at a time, generously flour your work surface (use barley flour for authenticity, or just all-purpose flour).
- Flatten a dough ball with your palm, then use a rolling pin to roll it out. Roll from the center outward, rotating the dough a quarter turn frequently to keep it round and even. It will resist and shrink a bit at first – that’s normal. Roll each piece as thinly as you can, ideally to about 1 mm thickness. The round will be roughly 8–10 inches across when thin. If the dough springs back or is hard to thin out, set that piece aside to rest further and start on the next one, then come back to it – a little rest works wonders if the dough is being stubborn.
- (Tip: You can also use a pasta roller machine to roll the dough into thin sheets, then cut into circles or squares for flatbrød.)
- Carefully transfer the rolled dough onto the hot dry skillet. If it’s a large round and tricky to move, you can drape it over the rolling pin or fold it gently in half to lift it, then unfold in the pan.
- Cook for about 30–60 seconds – you will see the dough start to dry and faint brown spots will form on the underside.
- Prick any large bubbles that may appear, though with an unleavened dough you usually won’t get big bubbles.
- Using a spatula, flip the flatbrød. Cook the second side for another ~30–60 seconds.
- The flatbrød is done when both sides have some brown freckling and the bread is mostly dry and firm.
- Don’t over-cook to a dark brown; a bit of golden color with spots is perfect. Total cook time is usually about 1–2 minutes per flatbrød. If your flatbrød is browning in less than 30 seconds, lower the heat slightly to avoid burning.
- Remove the cooked flatbrød and prop it up on a wire cooling rack or a clean dry surface.
- As it cools, it will turn crisp. (If it still has soft areas once cooled, it may have been a tad thick or not cooked quite long enough – you can remedy this by drying it out in a low oven at 250°F/120°C for a few minutes, or just enjoy that one as a softer flatbread.)
- Meanwhile, continue rolling and cooking the remaining dough portions.

- Once completely cool, enjoy your flatbrød!
- Serve it alongside soups, stews, or topped with butter, cheese, or jam. To store, keep the flatbrød in an airtight container at room temperature. As long as they are thoroughly dried, they’ll stay fresh and crunchy for several weeks. (For longer storage, you can also freeze flatbrød in zip-top bags and re-crisp them in the oven later, but this usually isn’t necessary since they are shelf-stable when dry.)
Frequently Asked Questions About Norwegian Flatbread
Flatbrød is a traditional Norwegian flatbread – an unleavened, cracker-thin bread that is dried until crisp. It’s made from simple ingredients (flour, salt, water, sometimes potato) and rolled out very thin before cooking. Flatbrød is like a large crisp cracker, served as a side to meals or as a snack. It has been a staple in Norway for centuries, valued for its long shelf life and versatility.
Flatbrød is usually eaten as an accompaniment. Traditionally, Norwegians serve it with soups, stews, and porridge – for example, alongside pea soup or crumbled into a rich stew like lapskaus. It provides a delightful crunch next to soft foods. You can also top flatbrød with butter, cheese, cured meats, herring, jam, or anything you’d enjoy on a cracker. There’s no wrong way to eat it: dunk it, top it, or nibble it plain like a snack. It’s a bit hard to stop once you start, thanks to that addictive crunch!
No – although both are Norwegian flatbreads, they’re quite different. Lefse is a soft, potato-based flatbread (like a tender tortilla) that’s usually served fresh, often spread with butter and sugar or rolled up with fillings. Flatbrød, on the other hand, is a hard, crispy flatbread with no yeast and usually no potato (except some regional varieties). Flatbrød is dry and cracker-like, meant to be stored and eaten crunchy, whereas lefse is soft and pliable. Both are delicious Norwegian staples, but you wouldn’t use flatbrød to make a wrap – save that for lefse!
Traditionally, barley flour was most common (sometimes combined with oat, rye, or whole wheat flour). Barley has little gluten and gives a wonderfully rustic flavor. You can also use whole wheat flour or rye flour for part of the dough to mimic that traditional taste. Modern recipes often include some all-purpose flour to make the dough easier to work with (since it has more gluten to hold things together). Feel free to experiment with flour blends – e.g. half whole-grain, half all-purpose. Even gluten-free flour mixes can work (some people use buckwheat, oat, or sorghum flour plus a binder). As long as you end up with a rollable dough, you’ll get a tasty flatbrød. Remember, this was historically a way to use whatever flour folks had on hand, so there’s flexibility.
Not at all. While Norwegians traditionally use a large flat griddle called a takke and sometimes a grooved rolling pin (rutekjevle), you can make flatbrød with basic kitchen tools. A heavy skillet or frying pan will work for cooking – cast iron is ideal for even heat, but any large pan is fine. For rolling, a standard rolling pin is sufficient. Just roll the dough as thin as you can on a well-floured surface. If you have a pizza stone or baking steel, you could also cook flatbrød on that in a hot oven, but stove-top cooking gives you more control to prevent burning. No fancy gadgets required – this is truly a home-friendly recipe.
As thin as humanly possible! The goal is roughly 1–2 millimeters thick (about the thickness of a coin or cracker). When rolled out, the dough will be almost translucent. Traditionally, expert flatbrød bakers prided themselves on ultra-thin bread – the saying was the thinner, the better. The reason is that thin flatbrød becomes light and crisp; if it’s too thick, it can be tough to bite. So take your time rolling, and don’t be afraid to re-roll if a piece seems too thick. It’s better to err on the side of very thin.
Don’t fret. If your flatbrød has soft or chewy spots, it might be a tad too thick or not fully dried. Flatbrød should be uniformly dry and brittle. To fix any less-crispy pieces, you can put them in a low oven (250°F/120°C) for a few minutes to further dry out without browning. Also make sure when storing that they’re fully cool and crisp; any warmth can create steam in a container and soften them. Once properly dried, they should have a satisfying snap. With practice, you’ll get the thickness and cooking time just right for perfectly crispy flatbrød.
A very long time – that’s the beauty of it! Because flatbrød has no moisture when fully dried, it doesn’t spoil easily. If stored in an airtight container in a dry place, homemade flatbrød can last for several weeks, even months. Historically, people would keep it for up to a year or more. However, if you’ve added any fat (like butter) to the recipe, extremely long storage might risk the fat going rancid, so in that case use within a few weeks. But honestly, flatbrød is so tasty you’ll likely run out long before it ever would go bad!
Yes, you can. Freezing isn’t really necessary (since they shelf-store well), but if you want to keep them for an especially long time, you can freeze flatbrød in sealed freezer bags. They will stay safe to eat indefinitely when frozen. To use, let them thaw a few hours at room temp inside the bag (to avoid any condensation directly on them). If they’ve lost a bit of crispness from freezer moisture, just pop them in a warm oven for a couple of minutes to re-crisp. But in general, airtight pantry storage is sufficient for maintaining crisp flatbrød.
Flatbrød is pretty wholesome as far as breads go. It’s typically made with whole grain flours (barley, whole wheat, rye, etc.), so it’s high in fiber and nutrients. There’s usually no fat and little to no sugar in traditional recipes, making it a low-fat, low-sugar food. It was literally the hardtack that sustained Norwegian farmers and fishermen, so it’s simple and nourishing. That said, like any bread, it’s mostly carbohydrates – but as part of a balanced meal (soup, stew, etc.), it adds a nice bit of crunch and fiber. And it’s certainly healthier than many processed crackers since you control the ingredients. If you have dietary concerns, flatbrød can also be made gluten-free by using gluten-free flours (as some home bakers have successfully done with buckwheat and GF blends). Overall, it’s a guilt-free traditional food – plain, natural, and satisfying.