Ingredients
Method
Mix the dough
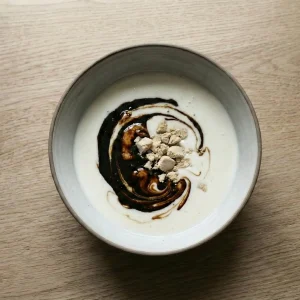
- Gently warm the buttermilk in a saucepan until lukewarm (about 37 °C/98 °F – it should feel neutral to the touch). Pour it into a large mixing bowl.
- If using active dry yeast, sprinkle the yeast over the warm buttermilk and let it sit for 5 minutes, until foamy.
- (If using instant yeast, you can skip the wait – just proceed with mixing.)
- Stir in the dark syrup (molasses) and salt until dissolved. The mixture will look caramel-colored and smell a bit like toffee.
Combine dry ingredients
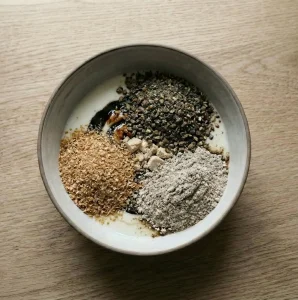
- In a separate bowl, stir together the wheat bran, crushed rye malt, and rye flour.
- Add this dry mixture to the liquid in the large bowl.
- Stir with a sturdy spoon or spatula until everything is well combined.
- Gradually add the all-purpose flour, one cup at a time, while stirring.
- The dough will be very wet and porridge-like – this is expected. Keep mixing (you don’t need to knead as such, just vigorous stirring) for about 5 minutes until you have a heavy, uniform batter
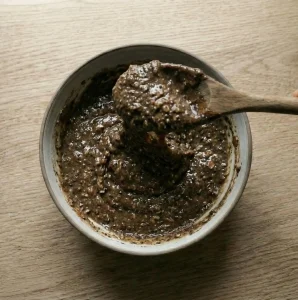
- It will resemble thick mud and be hard to stir – a workout for your arm! (Tip: if the spoon becomes too hard to handle, you can reach in with clean hands and “knead” by squeezing the dough lightly; but it will be sticky.)
First rise (bulk fermentation)
- Cover the bowl with a clean kitchen towel or plastic wrap. Leave the dough to rise at room temperature for about 1 hour, or until roughly doubled in volume.
- This dough may not puff up as dramatically as a white bread dough, but you should see it expand and get bubbly on top.
- While the dough is rising, prepare your loaf pans. Grease two 9×5 inch loaf pans (or similar) generously with butter or oil.
- If your pans are smaller (8×4 inch), you may end up needing a third pan or can make a small free-form loaf with excess dough.
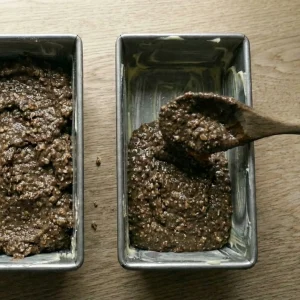
Pan the dough & second rise
- After the first rise, stir down the dough – it will be foamy and spongy. Give it a few good stirs to distribute the bubbles (the dough will deflate; that’s okay).
- Divide the dough into the prepared loaf pans. Fill each pan only about halfway full. The dough is still quite loose, so it will level itself out in the pan; you can smooth the tops with a wet spatula if needed.
- Cover the pans with a towel and let the dough rise a second time for 1 to 1½ hours. It should rise to near the top of the pans (about doubled).
- This second rise may take longer if your room is cool – be patient, as a full rise ensures a lighter texture.
- Meanwhile, preheat your oven to 175 °C (~350 °F).
Bake the loaves
- Place the risen loaves on the lowest rack of the preheated oven (this helps prevent the tops from over-browning). Bake for about 60 minutes at 175 °C (350 °F).
- Do not be tempted to crank up the heat – the long, slow bake is crucial for cooking this very moist bread through without burning it.
- While the bread is baking, mix the glaze by combining 2 Tbsp dark syrup and 2 Tbsp water in a cup.
- After 60 minutes of baking, carefully pull out the oven rack enough to access the loaves (or remove them briefly).
- Brush the tops of the loaves generously with the syrup-water mixture. This will soak in and create a glossy, slightly sticky crust.
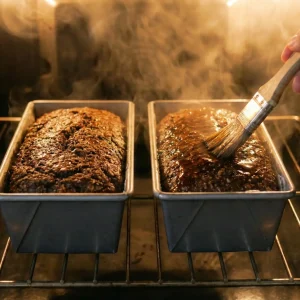
- Return the bread to the oven and continue baking for another 20–30 minutes. The total bake time will be 80–90 minutes.
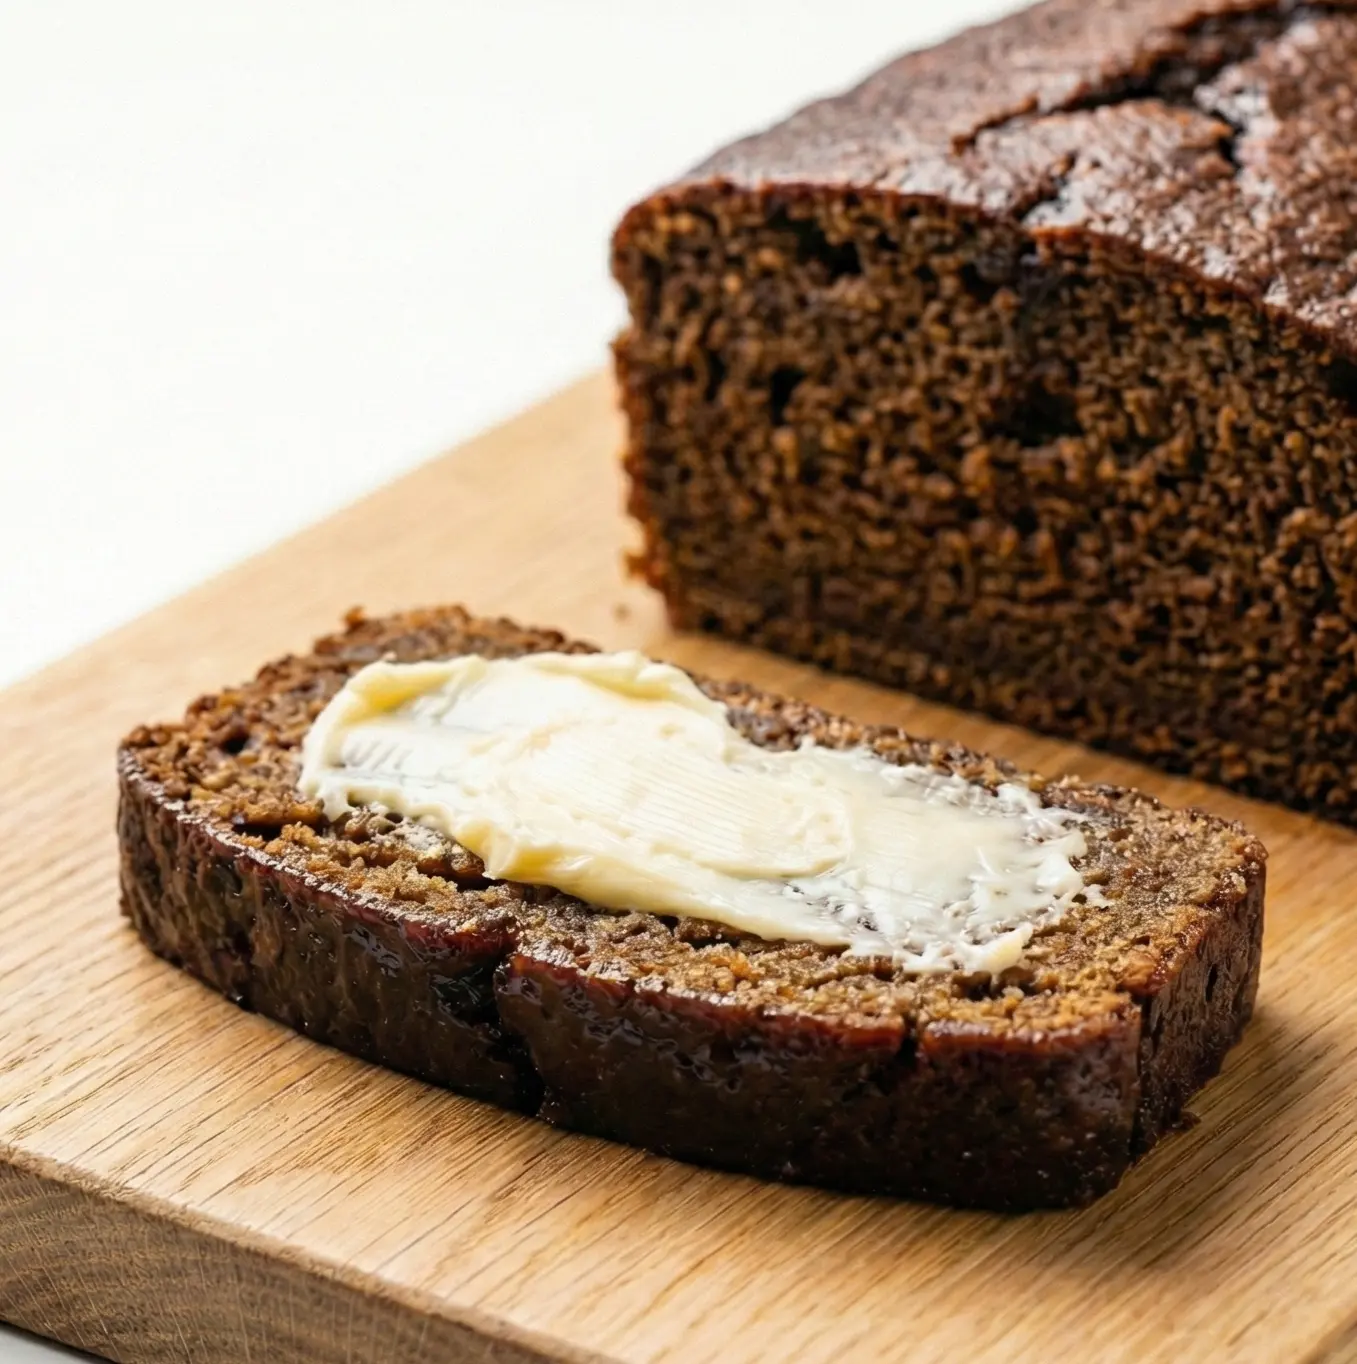
- The finished bread will be very dark (almost black on the crust edges) and a skewer inserted in the middle should come out mostly clean (a few moist crumbs are fine).
- If you have a kitchen thermometer, the center should reach about 96 °C (205 °F).
- Note: If at any point the tops seem like they might burn, you can lay a piece of foil loosely over the loaves. Typically, the syrup glaze prevents burning and gives a deep coloration.
Second glaze and cool
- As soon as the loaves come out of the oven, give them one more quick brushing with the syrup-water for extra shine.

- Then let the loaves cool in the pans for at least 15–20 minutes. Archipelago bread is very tender when hot, and cooling in the pan helps it hold its shape.
- After about 20 minutes, run a knife around the edges and gently turn out the loaves onto a rack to finish cooling. (If they seem stuck, give them more cooling time – they usually release once the syrup on the sides solidifies a bit.)
- Ideally, cool completely to room temperature, then wrap in plastic or foil and wait until the next day to slice.
- This bread actually slices better and tastes better after resting – the flavor deepens and the crumb sets to a sliceable firmness. It’s hard to wait, but the Finns swear by this (and so do I!).
Notes
Notes and Variations
- Make-Ahead: Saaristolaisleipä is the ultimate make-ahead bread. It stays moist for days (thanks to the syrup and acidity) and the flavor improves after 1–2 days of storage. Bake it a day or two before you plan to serve it, cool completely, then wrap in plastic wrap or foil. It will keep at room temperature for about a week. For longer storage, this bread freezes well – wrap it tightly (whole or pre-sliced) and freeze up to 3 months. Thaw at room temp or pop slices in the toaster.
- Dairy-Free / Vegan: This recipe is easy to adapt for a vegan diet. Simply use a plant-based milk (such as oat milk or almond milk with a teaspoon of vinegar added) or use 100% fruit juice (orange or apple) in place of the buttermilk. The rest of the ingredients are vegan (molasses instead of honey, etc.). Also remember to grease your pans with oil or a dairy-free shortening. The taste and texture will be very similar – so you won’t be straying far from tradition.
- Gluten-Free Option: Because it’s so rye-forward, this bread is not easily made gluten-free – rye itself contains gluten. You could experiment with a 1:1 gluten-free flour blend in place of the wheat flour and add 1 tsp xanthan gum (plus use a buckwheat or sorghum flour instead of rye), but the results will be different and more cake-like. If you’re avoiding gluten, a better Nordic bread to try might be a seed-heavy knäckebröd (crispbread) made with gluten-free flours.
- No Rye Malt: If you can’t source malt, increase the rye flour by ½ cup (or 60 g) and consider substituting 1 cup of the buttermilk with a dark beer for some malty flavor. Another trick is to add 1–2 tablespoons of malt syrup (the kind sold for bagel-making or brewing) if you find that – it’s liquid, so reduce the dark syrup slightly to compensate. The bread will still turn out nicely even if you omit the malt entirely; it just will be a bit paler and less aromatic.
- Alternative Sweeteners: Dark syrup or molasses gives the most authentic taste. If you want to experiment, you can use maple syrup or honey for a portion of the sweetener – you could replace up to half of the molasses with one of those. The bread will have a slightly different sweetness and the color may be lighter. We don’t recommend using white or brown sugar to replace the syrup, as the liquid form is important for the bread’s moisture.
- Spices & Flavorings: As mentioned, you can add 1–2 teaspoons of ground anise or fennel to the dough for a traditional hint of spice. A teaspoon of orange zest is another lovely addition, especially if you used orange juice as the liquid. These give the bread a holiday flair (almost like the Swedish vörtbröd which uses wort and spices). Feel free to leave them out for a purely malty-sweet flavor profile.
- Baking Format: This bread is nearly always made in loaf pans, but you can get creative. If you don’t have loaf pans, you could use oven-safe ceramic dishes or even cleaned large cans (to get a round loaf shape). Just make sure to fill any vessel only half full with dough and adjust baking time if the loaf is smaller (start checking earlier). We don’t recommend free-form baking this dough on a flat tray – it’s too liquid and will spread out. However, one could bake it in a Dutch oven (lined with parchment) for a rustic shape – if you try this, keep the dough quantity small and expect a very squat loaf.